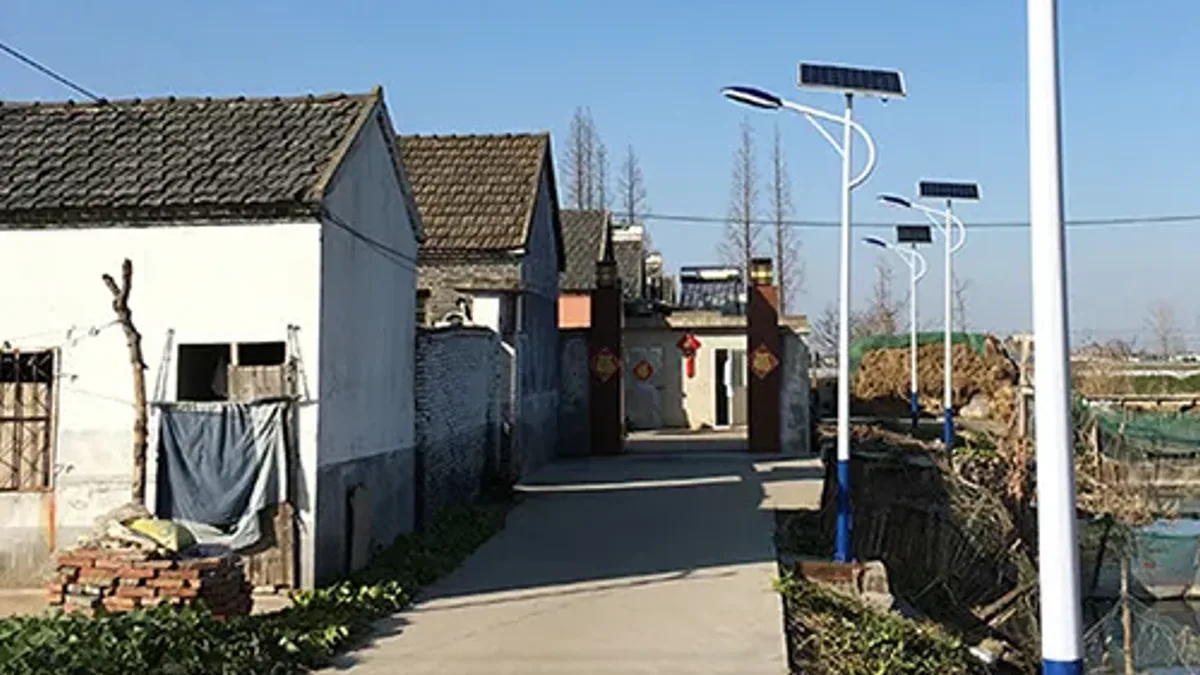
A solar street light is sized on the energy its panel can actually collect at one specific pole position, not on the wattage printed on the carton. A site survey fixes the three numbers every later decision depends on: the sun hours available in the worst month, the shadow that crosses the panel, and the direction the panel can face. Leave site without them and the shortfall appears in the first cloudy week of the first winter.
Why the Survey Decides the System
The survey is the cheapest part of a solar lighting project and the one that cannot be corrected later. Panel power, battery watt-hours and the number of autonomy days are all derived from what the site gives you, so a survey error becomes a larger panel, a larger battery, or a light that dims early.
Three quantities come out of the site visit. Daily energy available, measured as sun hours in the design month rather than the annual average. The shading window, recorded in the season when shadows are longest. The panel bearing available on the pole, which decides whether an integrated luminaire can do the job or whether the array has to be separated from the light.
A survey that produces those three numbers in writing is also what makes quotations comparable. Two suppliers quoting the same wattage against different sun-hour assumptions are not quoting the same system, and the cheaper one is usually the one that assumed more sun.
The Six Questions a Survey Must Answer
Every solar street light survey reduces to six questions. Answer them in writing before you ask for a price, because each one changes a different part of the bill of materials and a different part of the civil works on site.
| Question | What to record | What it changes |
|---|---|---|
| How much sun does the site get in its worst month? | Long-term monthly average irradiation for the coordinates; note the lowest month | Panel power and battery watt-hours; autonomy in days |
| When is the panel shaded? | Obstacles with bearing, height and distance; photos at 09:00, 12:00 and 15:00 | Pole position, panel height, integrated versus split system |
| Which way can the panel face? | True-compass bearing available on the bracket after the luminaire angle is set | Daily harvest, tilt angle, need for a remote array |
| Where can the pole stand? | Road width, kerb line, setback, buried services, access for a truck | Pole height and spacing, foundation and anchor bolts |
| How much light is required at night? | Lighting class or lux target, uniformity requirement, colour temperature | Lumen output, model wattage, optical distribution |
| How long must it run, and how bright after midnight? | Nightly runtime hours and the dimming profile the client will accept | Watt-hours per night, battery capacity, panel top-up margin |
Six answers, one page, signed by the person who stood on the site. Everything in the rest of this guide is a way of filling in one of those rows.
Sun Hours: Design on the Worst Month, Not the Annual Average
Sun hours are the hours at full rated irradiance a site receives in a day, and the only figure that matters for sizing is the worst month. An annual average flatters every project in a monsoon, a Mediterranean winter or a high-latitude summer, because it hides the weeks when the system lives on its reserve.
You do not need instruments to obtain it. Take the site coordinates from a phone and read the long-term monthly averages from a free public dataset: NASA POWER, PVGIS from the European Commission, the World Bank Global Solar Atlas or NREL's NSRDB all publish monthly irradiation for any latitude and longitude. Read the twelve monthly values and take the lowest one. In the northern hemisphere that is normally December, in the southern hemisphere June; coastal and monsoon regions sometimes shift it by a month, which is exactly why you read the table instead of guessing.
Then cross-check the day you are standing there. A clear midday reading from a clean panel proves the site can produce on a good day, which tells you nothing about the design month. What the survey adds is the shading record described below, because the dataset assumes an unobstructed horizon and your pole may not have one.
The number feeds straight into sizing. Multiply the energy the luminaire needs each night in watt-hours by the number of autonomy days you require and by a system loss factor, then divide by the design-month sun hours to get the array the site actually needs. If the result demands more panel than the pole will carry, the answer is a remote array, a longer pole with a clearer horizon, or a dimming profile that uses less energy after midnight.
The Solar Window: Finding the Shading That Costs Autonomy
Most solar street lights that underperform are not faulty; they are shaded for part of the day. The practical test is a nine-to-three window, the six hours around solar noon, where most of the daily energy is collected. Shadows are longest in winter, so a summer survey reports a site as clear that December half covers.
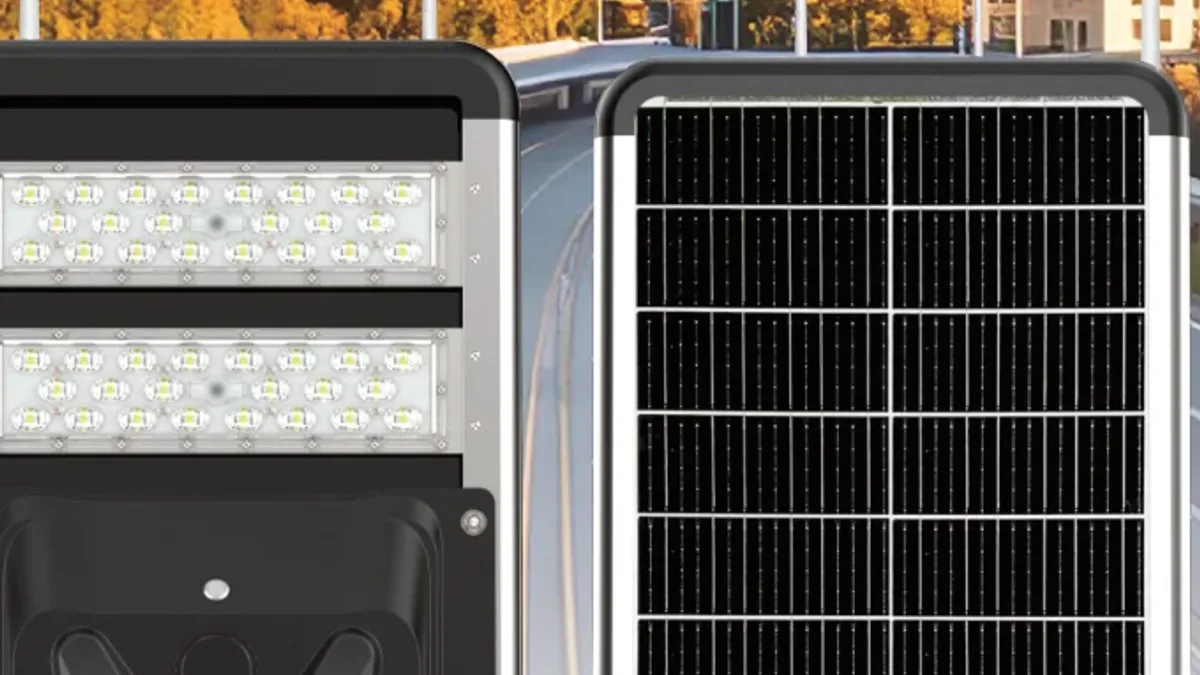
Record each obstacle as a bearing, an approximate height and a distance from the pole, and photograph it. Also record what the obstacle does across the year: a deciduous tree is a winter problem without its leaves, an evergreen is a winter problem with them, and a building under construction next door is a problem that does not exist yet. On a large road, mark the shaded poles on the layout drawing and expect to shorten the spacing or raise the mount there.
Two effects make shading worse than the geometry suggests. A photovoltaic module behaves as a series string, so shading that covers a small area can interrupt a disproportionate share of the output, and the luminaire's own arm and panel frame can throw a thin shadow across the array at the exact angle the pole has to be set to. Both are reasons to check the panel view from the mounting position, not from the roadside.
Panel Orientation and Tilt: What to Fix at Design Stage
Orientation is the cheapest energy you will ever buy. A panel should face the equator: true south in the northern hemisphere, true north in the southern. Convert the compass reading you took on site, because magnetic bearing and true bearing differ by several degrees in most markets, and that error is permanent once the pole is set.
Tilt is the second half. A common starting point is a tilt roughly equal to the site latitude, steeper where winter output is the binding constraint and shallower on sites where summer performance and self-cleaning matter more. The bracket on our solar light poles is documented at a 15 degrees elevation angle, which suits low-latitude projects well and is worth reviewing against the design-month sun path above roughly 35 degrees of latitude.
The constraint most buyers miss is that an integrated luminaire shares one mounting angle between the panel and the light. Where a road runs east to west and the luminaire must aim along the carriageway, the panel inherits that angle instead of facing the sun. That trade-off is covered in detail in our comparison of all-in-one and split-type solar street lights, and it is the reason a split system, or a roof-mounted array feeding a pole, sometimes wins on a site that looks ideal for an integrated unit.
Whatever the site allows, ask the supplier to state three things in writing: the design tilt, the winter harvest assumption behind the sizing, and the resulting autonomy in days. Those three lines turn a wattage claim into a testable commitment.
Pole Position: Where Road Geometry Meets Solar Access
Pole position is a compromise between two requirements that rarely agree: uniform light on the carriageway, and an unobstructed view of the sun. Raise the pole and the light spreads further, but a taller pole also lifts the panel above low hedges, walls and the shadow line of the trees along the kerb.
Our integrated models are documented at 6-7 m pole height with 25-30 m spacing for the 100W, 7-8 m at 30-35 m for the 150W, 8-10 m at 35-40 m for the 200W and 10-12 m at 40-45 m for the 300W, with the parking-lot luminaire specified at 8 m and 20-25 m. Use those pairs as the starting layout, then move individual poles where the survey found shade, and check the load and foundation data in the solar light pole guide before the civil contractor mobilises.
If the only viable pole position is under a canopy, you have four options in order of cost: lift the panel clear with a taller mount, rotate the pole so the arm points away from the obstacle, move the pole a few metres and adjust the spacing, or separate the array from the light and place the panel where the sun is.
Night-Time Load: Runtime, Lighting Class and Dimming
A survey that records only the day is half finished, because the panel is sized to the energy the light consumes after dark. Record the lux or lighting-class requirement, the uniformity the client expects, the hours the light must run, and the dimming profile the road can accept after midnight.
Our integrated solar street lights ship with an MPPT controller running light control, timer control and human presence detection, with a published profile of full output for the first four hours at 50 percent standby, 70 percent from hours five to eight at 40 percent standby, and 60 percent from hours nine to twelve at 30 percent standby. Across a twelve-hour night that profile works out at 480 percent-hours if nobody is present, against 1,200 for twelve hours at full output — the difference is roughly sixty percent of the battery capacity, which is often the difference between one autonomy day and three. The motion sensor and dimming guide explains how to write those levels into a specification.
Two survey notes matter here. In winter, a site with fixed dusk-to-dawn operation will need a larger battery than the same site with a dimmed profile, because night length grows as irradiance falls. And if the client requires constant output, say so on the survey sheet; it changes the battery, not just the settings, and the limits of that trade-off are described in our dusk-to-dawn guide.
Ground, Access and Foundation Notes
The same visit should answer the civil questions, because a second mobilisation costs more than the survey. Record the soil type and whether the ground is rock, sand, clay or fill, the likely water table, any buried services along the kerb, and the access route a concrete truck and lifting equipment can use with a 6 to 12 m pole.
Our poles are manufactured from Q235 high-strength steel with hot-dip galvanizing to ISO 1461 and a design service life of 20+ years with regular inspection, supplied in 6, 7, 8, 10 and 12 m heights with foundation and anchor-bolt drawings for the civil works. Take the anchor bolt pattern, the embedment depth and the flange orientation to site with you, and photograph the finished foundation before the pole goes up; those photographs are the first thing anyone asks for if a pole is later reported as leaning.
The Survey Sheet: Twelve Fields to Send With Your RFQ
A survey is only useful to a supplier if it arrives as numbers. Copy these twelve fields into a one-page form, fill them on site, and attach the photographs with the enquiry. Suppliers can size from this page without a follow-up questionnaire, and the quotations you receive will be comparable.
| Field | What to write |
|---|---|
| 1. Site location and coordinates | Name, country, latitude and longitude to two decimals |
| 2. Road or area type | Highway, arterial, residential street, car park, campus, pathway |
| 3. Width and lanes | Carriageway width, number of lanes, verges and median |
| 4. Pole count and layout | Number of poles and one-sided, staggered or opposite arrangement |
| 5. Pole height and spacing | Target height and spacing, or the supplier's recommendation to confirm |
| 6. Design-month sun hours | Lowest monthly average and the data source you read it from |
| 7. Shading record | Obstacles with bearing, height, distance, and the hours they cover |
| 8. Available panel bearing | True bearing the panel can face once the luminaire angle is set |
| 9. Lighting requirement | Lighting class, lux target, uniformity and colour temperature |
| 10. Runtime and dimming | Hours per night, dimming steps accepted, standby level required |
| 11. Ground and access | Soil, water table, services, access for concrete and lifting equipment |
| 12. Autonomy required | Consecutive cloudy nights the client expects the light to survive |
Survey Mistakes That Appear in Year Two
Almost every complaint about a solar street light in its second winter traces back to one of a handful of survey decisions. They are predictable, and they are all cheaper to fix on paper than on the pole. Read the list before you sign the layout drawing.
- Using the annual average instead of the worst month. The system is designed for the design month; averaging hides the four to eight weeks that test it.
- Surveying in the wrong season. A summer visit under a canopy in leaf looks nothing like the same pole in December.
- Recording shade at noon only. Morning and late-afternoon shadows disqualify positions that look perfect at midday.
- Ignoring what will be built or planted. New buildings, screens, signs and fast-growing trees arrive within the life of the asset.
- Leaving the panel bearing unverified. The luminaire alignment, not just the road, sets the direction an integrated panel will face.
- Sending the enquiry without the survey. Suppliers then size against an assumption, and the cheapest quotation is usually the one with the sunniest assumption.
- Forgetting the night requirement. Runtime and dimming, not wattage, decide the battery that has to be on the pole.
Frequently Asked Questions
Can a solar street light work in a cloudy or monsoon climate?
Yes, if it is sized on the design month rather than the annual average. Cloud reduces daily harvest, so the answer is a larger panel and battery, or a dimming profile that uses less energy after midnight. Sites with heavy monsoon seasons commonly need two to four autonomy days, which is a specification decision made from the monthly irradiation table, not a property of the luminaire.
How do I measure sun hours without instruments?
Read them. Free public datasets — NASA POWER, PVGIS, the Global Solar Atlas and the NREL NSRDB — give long-term monthly averages for the site coordinates. Take the lowest month as the design value, then use the site visit to record shading, which the dataset cannot know. A handheld irradiance meter or a clear-sky midday reading confirms the day, not the month.
What tilt angle should the panel be set to?
Start near the site latitude and face the equator, steeper if winter output is the binding constraint. Our pole brackets are documented at a 15 degrees elevation angle, which suits low latitudes; on projects above roughly 35 degrees of latitude, ask for a design tilt matched to the worst-month sun path, and confirm it in writing before production.
What if the panel cannot face the sun from the pole?
Use a split-type system, where the panel mounts independently of the luminaire, or place the array on a nearby roof or frame and run a DC cable to the pole. Both are normal configurations; what matters is that the cable run, the mounting structure and the extra connectors appear in the quotation rather than in a change order after delivery.
Is an integrated solar street light suitable for a shaded site?
Only where the pole can be positioned so the shared panel-and-luminaire angle still collects enough sun. Where the road alignment forces the panel off the sun, a split system or a remote array is the more reliable choice. The integrated versus split comparison works through the panel-angle trade-off pole by pole.
How many autonomy days should I specify?
It depends on the local cloud pattern and how the client measures service. Two autonomy days is a common minimum for municipal work, and three to four is usual where monsoon or continuous overcast periods are expected. Autonomy is meaningless unless the dimming profile and the runtime hours used to calculate it are stated on the same sheet.
What happens if the pole is already installed and the site turns out to be shaded?
Diagnose before you relocate anything, because loose connectors and a weak battery produce the same symptom as poor harvest. Our fault-finding guide walks through panel, battery, controller and sensor tests in that order, and the survey record from installation is what tells you whether the site itself is the cause.
Next Step: Send Your Survey Details
If you are preparing a solar lighting enquiry, send the twelve-field sheet above with your road type, target pole height and spacing, lighting class, runtime hours and required autonomy. Our engineers return a sized specification, the design tilt and winter harvest assumption behind it, and a factory-direct quotation covering panel, battery and pole together.
Our published commercial terms support small-batch and mixed-model trial orders, with samples typically ready in 7-10 working days and standard production taking 15-25 days depending on volume. Start with the integrated solar street light range to see the wattage ladder, check the solar street light pole heights and foundations, or read the off-grid system guide if the site has no grid within reach at all. When your survey sheet is ready, send it to our engineering team and we will size the system against your site rather than against an average.